Saturday, January 19, 2013

Altered Tart Tin Ornament from the Studio Stash

I love vintage. All things vintage. I prefer to call myself a collector, rather than a hoarder. I am quite orderly in my house. I don't like clutter. I make my bed every morning. I chase after the kids to pick up after themselves. I go through my closet constantly to purge. My studio is orderly too....everything sorted in labeled totes and boxes...but purge? No way! I never know what I am going to need or when I am going to need it!! I went through a candle making phase a few years ago and collected all kinds of vintage containers to pour them into. I was rummaging around for some Christmas ornament inspiration, and ran across some little tart tins....perfect! Some scraps of scrapbook paper, a few gems and embellishments, and voila...some really cute ornaments from 'just some stuff I had lying around". I found these really ugly napkin rings at a yard sale years ago. They were gaudy, and strange but they were only .25 for 10, and I liked the little sequin covered bottle brush trees on them. So I ripped off the trees, added them to my stash and tossed the rest out. I was so glad I rescued them, when I saw how cute my ornaments came out!

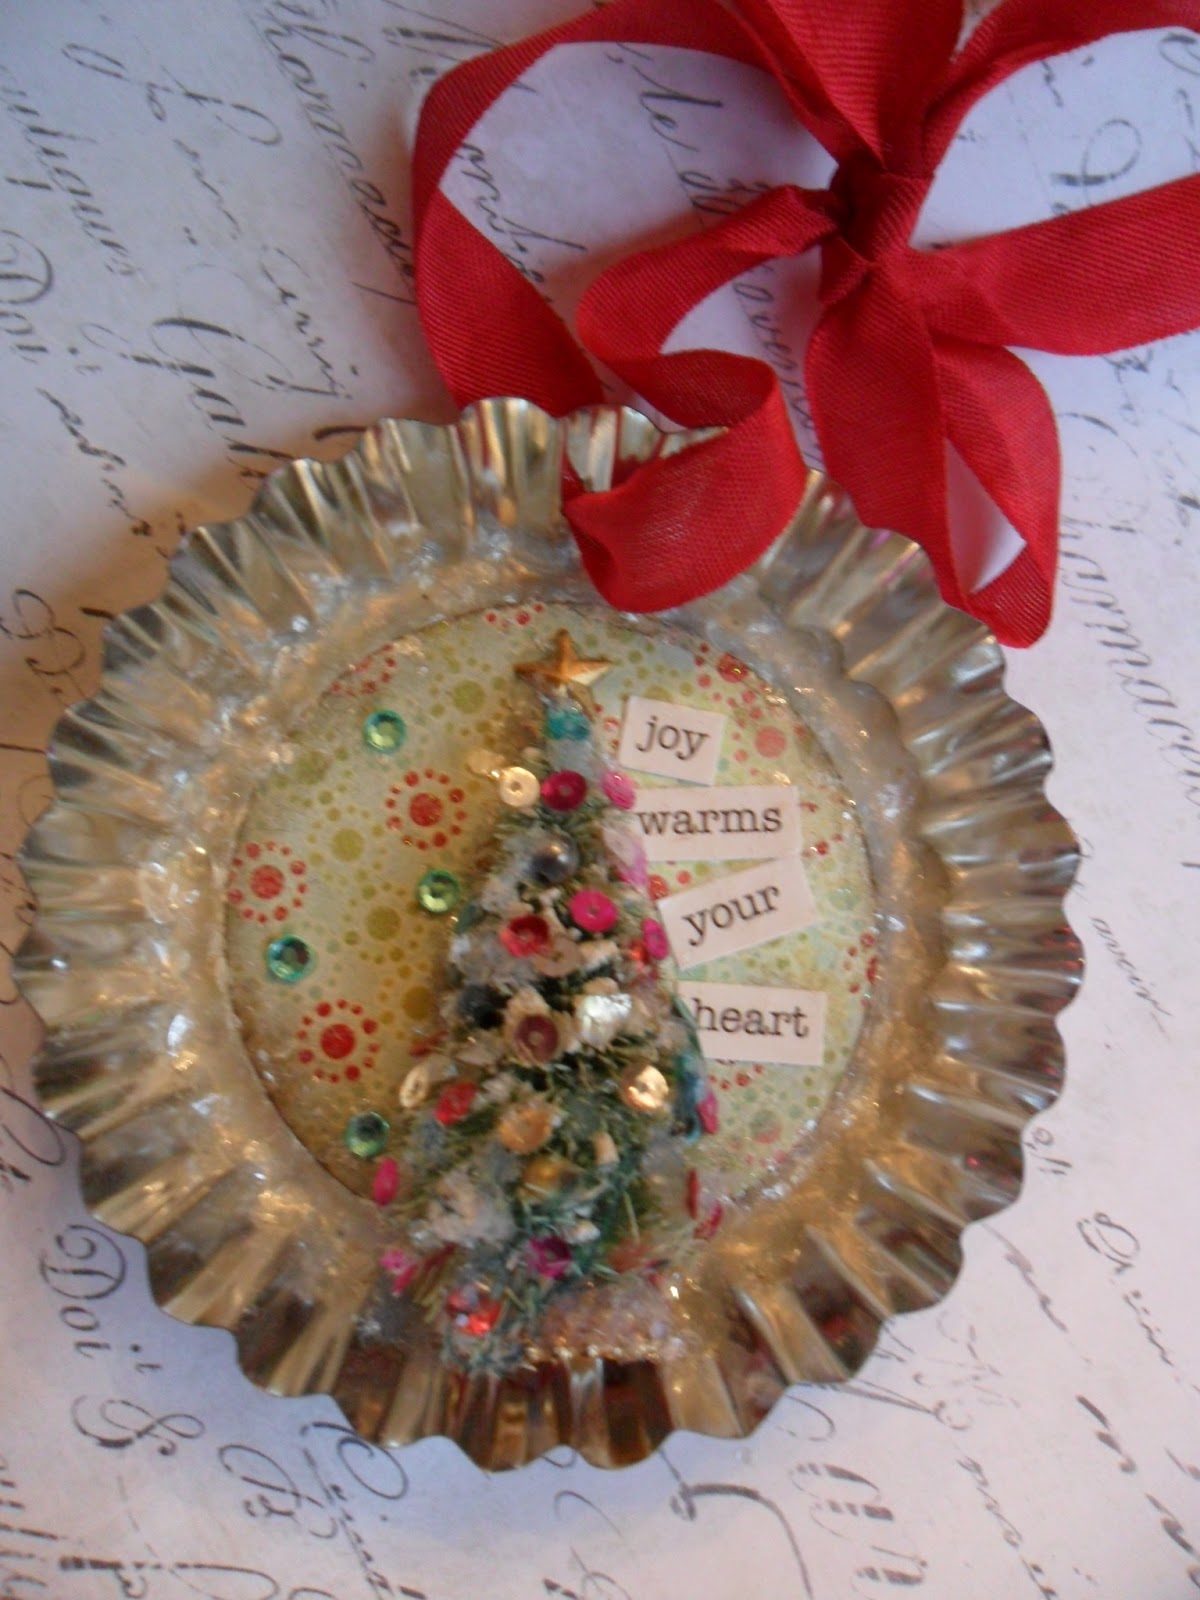
Vintage tart tin, scrapbook paper circle, stick on gems, tiny text stickers, vintage mica snow, distress ink, seam binding ribbon, tiny brass star charm for the top of the tree, and the little bottle brush trees. 

Rockin' Around the Block

One of my new favorite alterables is the simple form of a wood block. I happen to have a little stash of vintage wood ABC blocks, and I dug into them for some inspiration. W is for Winter.
The Front of the block. I used the original blue W, sanded it a bit to lighten the color, added distress ink, 
and coated the W with clear glass glitter for an ice crystal effect.

One of the sides, collaged with tissue tape, edges sanded and distress, and a 
felt snowflake layered with clear glass glitter and a little gem to finish it off.

This side was was covered with Christmas themed tissue tape, and some vintage style ephemera snippets, a little  silver glitter star with gem and dusted with vintage mica snow flakes.

This side was covered with a vintage style sticker, edges sanded and inked and a little Stickles for
dimension.

And these two photos show the top of the block. I layered two vintage buttons on the bottom
a large one, a smaller one, and topped it with a vintage chandelier prism. I liked the icicle knob effect that it gave to the piece. Of course I sanded and inked the edges and dusted the edges with that glorious vintage mica snow, that I pulled from my stash! I really liked the way it turned out. a tiny piece of art to tuck on a shelf. After I had already glued the buttons together and onto the block, I thought that I could have put some snow, or beads under the bottom button as it domed up quite a bit. It would have given it a little movement/snowglobe effect. Good thing I have the rest of the alphabet still to work with!